How To Start a MERN Stack Project
Starting a MERN Stack project can be both exciting and overwhelming for beginners. The MERN Stack — which stands for MongoDB, Express.js, React, and Node.js — is a powerful combination of technologies used to build dynamic, scalable, and modern web applications. In this guide, we’ll break down every step involved in starting a MERN project, from setting up your development environment to deploying your app online.
What is the MERN Stack?
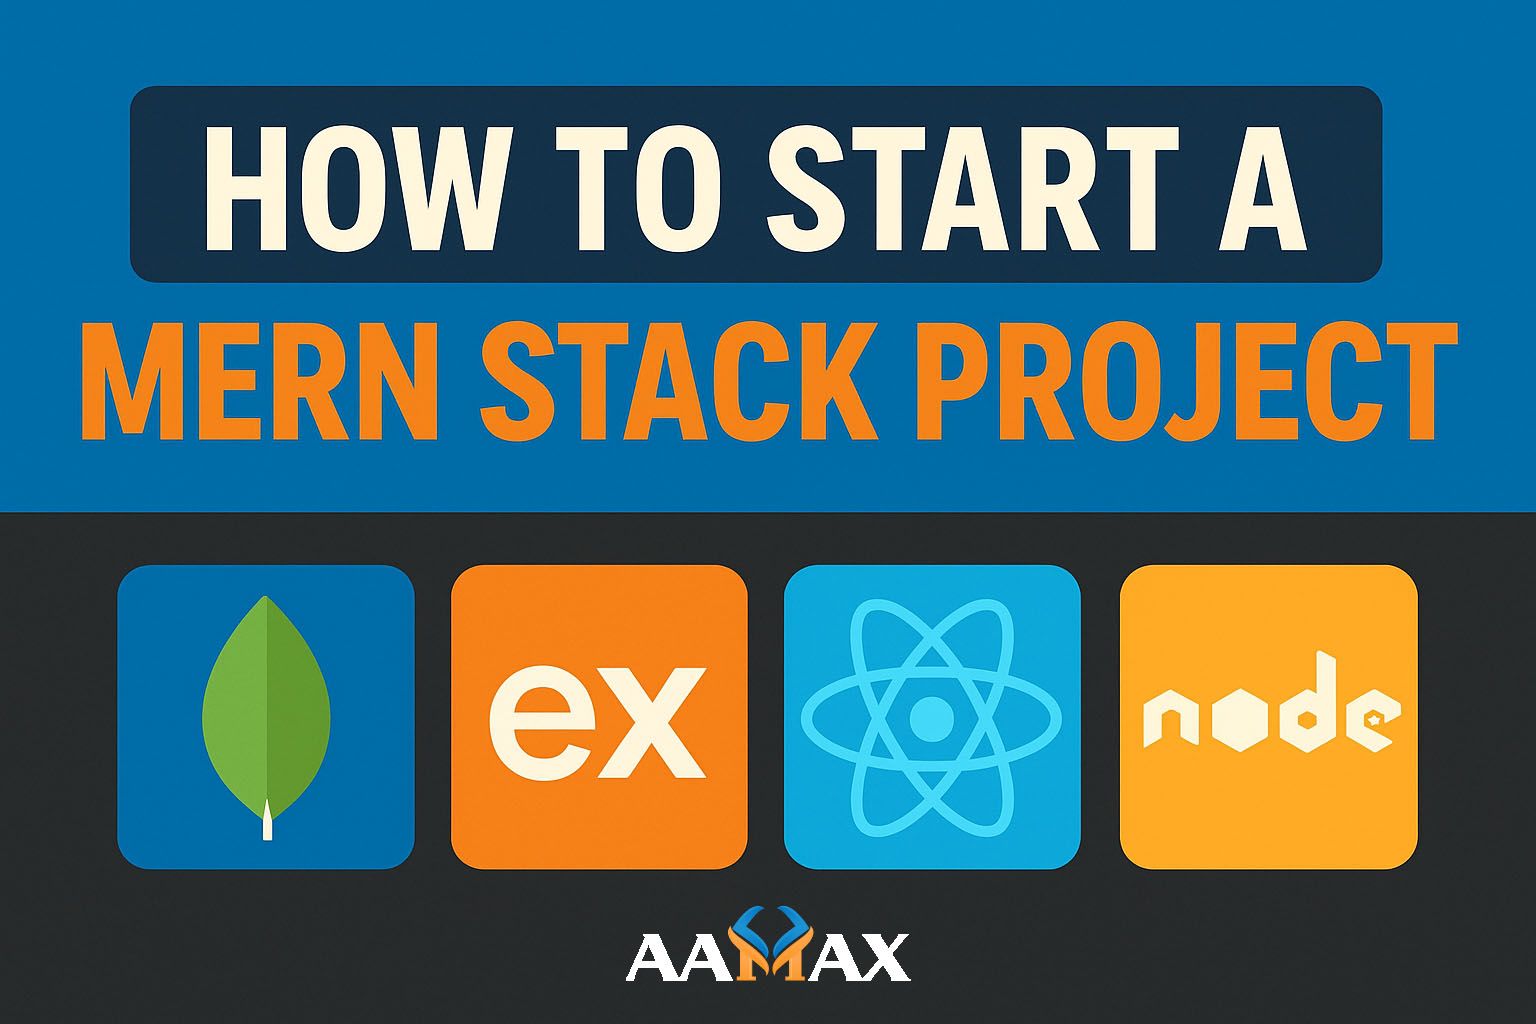
The MERN Stack is a popular JavaScript-based technology stack used for full-stack web development. Each component serves a specific purpose:
- MongoDB: A NoSQL database that stores data in flexible, JSON-like documents.
- Express.js: A lightweight web application framework for Node.js used for building backend APIs.
- React.js: A front-end JavaScript library developed by Facebook for creating interactive user interfaces.
- Node.js: A JavaScript runtime environment that allows developers to run JavaScript code on the server side.
When combined, these technologies make it possible to build end-to-end web applications using JavaScript across both the client and server sides.
Step 1: Setting Up Your Development Environment
Before you begin, ensure that your system is ready for development.
Install Node.js and npm
Node.js comes with npm (Node Package Manager), which is essential for managing dependencies. You can download Node.js from nodejs.org.
To verify installation, run the following commands:
node -v
npm -v
Install MongoDB
MongoDB can be installed locally or used via a cloud service like MongoDB Atlas. For local installation, follow the setup guide based on your operating system.
After installation, start MongoDB:
mongod
This ensures your MongoDB service is running and ready for connections.
Choose a Code Editor
Most developers prefer Visual Studio Code for MERN Stack projects due to its extensions, integrated terminal, and debugging tools.
Step 2: Creating the Project Structure
Let’s set up a basic folder structure to organize your files efficiently:
mern-project/
│
├── backend/
│   ├── server.js
│   ├── package.json
│   ├── routes/
│   ├── models/
│   └── controllers/
│
└── frontend/
    ├── src/
    ├── public/
    └── package.json
This separation helps maintain a clear distinction between backend and frontend components.
Step 3: Initialize the Backend with Express and Node.js
Navigate to your backend folder and initialize a Node.js project:
npm init -y
Then, install the necessary dependencies:
npm install express mongoose cors dotenv
npm install --save-dev nodemon
- express: Web framework for handling routes and requests.
- mongoose: Object Data Modeling (ODM) library for MongoDB.
- cors: Middleware for enabling cross-origin resource sharing.
- dotenv: For managing environment variables.
- nodemon: Automatically restarts the server during development.
Create the Server File
Inside backend/server.js, add the following code:
const express = require('express');
const mongoose = require('mongoose');
const cors = require('cors');
require('dotenv').config();

const app = express();
app.use(cors());
app.use(express.json());

mongoose.connect(process.env.MONGO_URI, { useNewUrlParser: true, useUnifiedTopology: true })
    .then(() => console.log('MongoDB connected'))
    .catch(err => console.log(err));

app.get('/', (req, res) => {
    res.send('Welcome to MERN Stack API');
});

const PORT = process.env.PORT || 5000;
app.listen(PORT, () => console.log(`Server running on port ${PORT}`));
Create a .env file in your backend folder and add your MongoDB URI:
MONGO_URI=your_mongo_connection_string
To run your server:
npm run dev
Step 4: Setting Up the Frontend with React
Navigate to the root directory and create your React app using Create React App:
npx create-react-app frontend
Once installed, navigate into the frontend folder:
cd frontend
npm start
You’ll see your default React app running at http://localhost:3000.
Clean Up React Files
Delete unnecessary files like App.test.js, logo.svg, and update App.js with a simple layout:
function App() {
  return (
    <div className="App">
      <h1>Welcome to the MERN Stack App</h1>
    </div>
  );
}

export default App;
Step 5: Connecting Frontend to Backend
To connect the frontend React app with the backend API, use the Axios library:
Install it:
npm install axios
Then, create an API request inside a React component:
import axios from 'axios';
import { useEffect, useState } from 'react';

function App() {
  const [message, setMessage] = useState('');

  useEffect(() => {
    axios.get('http://localhost:5000/')
      .then(response => setMessage(response.data))
      .catch(error => console.error(error));
  }, []);

  return <h1>{message}</h1>;
}

export default App;
Now your frontend and backend are communicating successfully.
Step 6: Creating a Model and API Routes
Let’s create a simple User model and API route for demonstration.
User Model (models/User.js)
const mongoose = require('mongoose');

const userSchema = new mongoose.Schema({
  name: { type: String, required: true },
  email: { type: String, required: true, unique: true },
  password: { type: String, required: true }
});

module.exports = mongoose.model('User', userSchema);
User Route (routes/userRoutes.js)
const express = require('express');
const router = express.Router();
const User = require('../models/User');

router.get('/', async (req, res) => {
  const users = await User.find();
  res.json(users);
});

router.post('/', async (req, res) => {
  const newUser = new User(req.body);
  await newUser.save();
  res.status(201).json(newUser);
});

module.exports = router;
In your server.js, include the route:
const userRoutes = require('./routes/userRoutes');
app.use('/api/users', userRoutes);
Step 7: Managing State with React Hooks or Redux
For complex applications, managing state becomes crucial. React provides tools like useState, useContext, and Redux for this.
Example with Context API
Create a context for global state management:
import { createContext, useState } from 'react';

export const AppContext = createContext();

export function AppProvider({ children }) {
  const [user, setUser] = useState(null);
  return (
    <AppContext.Provider value={{ user, setUser }}>
      {children}
    </AppContext.Provider>
  );
}
Wrap your app inside AppProvider in index.js.
Step 8: Deploying Your MERN Stack Project
Once development is complete, it’s time to deploy.
Deploy Backend on Render or Vercel
You can deploy your Node.js/Express backend easily using Render or Vercel. Push your code to GitHub and connect the repository to your chosen platform.
Deploy Frontend on Netlify or Vercel
For React, build your app:
npm run build
Then deploy the build folder on Netlify or Vercel for production hosting.
Step 9: Best Practices for MERN Stack Development
- Use environment variables for sensitive data.
- Structure your code with MVC pattern.
- Apply JWT authentication for secure user access.
- Optimize your database queries.
- Use Git for version control.
- Keep your API routes modular and documented.
Step 10: Why Hire AAMAX for MERN Stack Development?
Building a robust MERN Stack application requires expertise across both frontend and backend technologies. That’s where AAMAX comes in.
AAMAX is a full-service digital marketing and web development company offering a complete range of services including MERN Stack Development, Digital Marketing, and SEO Services. The AAMAX team specializes in developing high-performance web applications that deliver exceptional user experiences and drive measurable business growth.
Whether you need a custom web app, API development, or a React-based dashboard, AAMAX provides end-to-end solutions — from concept to deployment.
Conclusion
Starting a MERN Stack project involves several moving parts — from environment setup to frontend-backend integration and deployment. Once you grasp the fundamentals of MongoDB, Express.js, React, and Node.js, you’ll be equipped to build powerful full-stack applications.
If you’re looking to kickstart your next project with expert support, hire AAMAX for professional MERN Stack Development services and take your digital presence to the next level.


